+ ต่อจากตอนที่แล้วครับ
 |
| Curve + RGB |
 |
Curve + Red
+ มาดูใน Red Channel กันก่อนนะครับ ผมทำการดึงจุดดำ (Black Point) สามเหลี่ยมด้านล่างซ้ายเล็กๆ ของ Curve อ่ะครับ มาที่ 5 และเลื่อนจุดขาว (White Point) สามเหลี่ยมด้านล่างขวาเล็กๆ กลับมาที่ 249 ครับ ส่วนจุดสามเหลี่ยมเล็กๆ ตรงกลาง เป็นจุดเทาครับ (Neutral Point) ผมไม่ได้ปรับอะไร ^ ^
|
 |
| Curve + Green |
+ มาต่อใน Green Channel ครับ ผมทำการดึงจุดดำ มาที่ 5 และเลื่อนจุดขาวกลับมาที่ 230 ครับ
+ ผลลัพธ์ในภาพล่ะ ? ตามความคิดผม ผมว่ามันก็คล้ายๆ กันอ่ะครับ ผมก็มองไม่ออกครับ T_T" (ถ้าปรับให้ไม่แตกต่างกันมากนะครับ) แต่ผมเข้าใจเองว่า Curve มันทำงานกับแสง พอแสงสว่าง สว่างขึ้นหรือมืดลงก็ทำให้สีเปลี่ยนไปด้วย แต่ Color Balance มันทำงานกับสีอย่างเดียว เพราะงั้นลองลังเกตุดีๆ ว่าภาพเราสีเพี้ยนไปทางใหนแล้วลองปรับดูเลยครับ ค่อยๆปรับ ค่อยๆสังเกตุไปครับ ไม่ต้องรีบครับ มีตัวอย่างให้ดูครับ ภาพเดียวกันนะครับ (2 ภาพล่าง) ภาพซ้ายใช้ Curve ภาพขวาใช้ Color Balance ทั้งสองอันปรับเฉพาะสีน้ำเงินนะครับ ปรับสุดทั้งสองอันเลยครับ ^_^
+ ภาพซ้ายที่ใช้ Curve ปรับเนี่ย มันสว่างกว่าเยอะเลย เพราะ Curve มันทำงานกับแสงด้วยอ่ะครับ ส่วนภาพขวาที่ใช้ Color Balance มีสีน้ำเงินเยอะขึ้น แต่ภาพก็ยังไม่ได้สว่างกว่าภาพทางซ้าย ที่ออกจะจ้าไปเลย ^_^
 |
| Curve + Blue |
+ สุดท้าย Blue Channel ครับ เลื่อนจุดขาวกลับมาที่ 198 ครับ
+ แล้วทำไมผมถึงปรับ Curve แปปเดียวก็ได้ภาพเป็นแบบนี้เลยเหรอ เอาจริงๆ คือปรับไปเรื่อยๆ ครับ จนกว่ามันจะได้แบบที่เราพอใจ ผมไม่ได้เก่งอะไรขนาดนั้นหรอกครับ คนอย่างผมก็มั่วไปเรื่อยแหละครับ ฮ่าๆ
+ ผมจำได้ไงว่าปรับ Curve แล้วได้สีแบบนี้ ? ก็สีของแต่ละ Channel ใน Curve ที่เราเห็นมันจะมีแค่ RGB ครับ ใช่มั๊ยครับ ถ้าอยากลองปรับดูแบบง่ายๆ ลองปรับใน Color Balance ก็ได้ครับ จะได้เห็นง่ายกว่า เพราะสีมันตรงข้ามกันแบบนี้ครับ
R (red) / C (Cyan)
G (Green) / M (Magenta)
B (Blue) / Y (Yellow)
 |
| Compare + Curve / Color Balance |
+ และแล้วก็ได้เป็นภาพแบบที่เห็นแบบนี้ครับ เทียบให้ดู Before & After เลยดีกว่าครับ ^_^
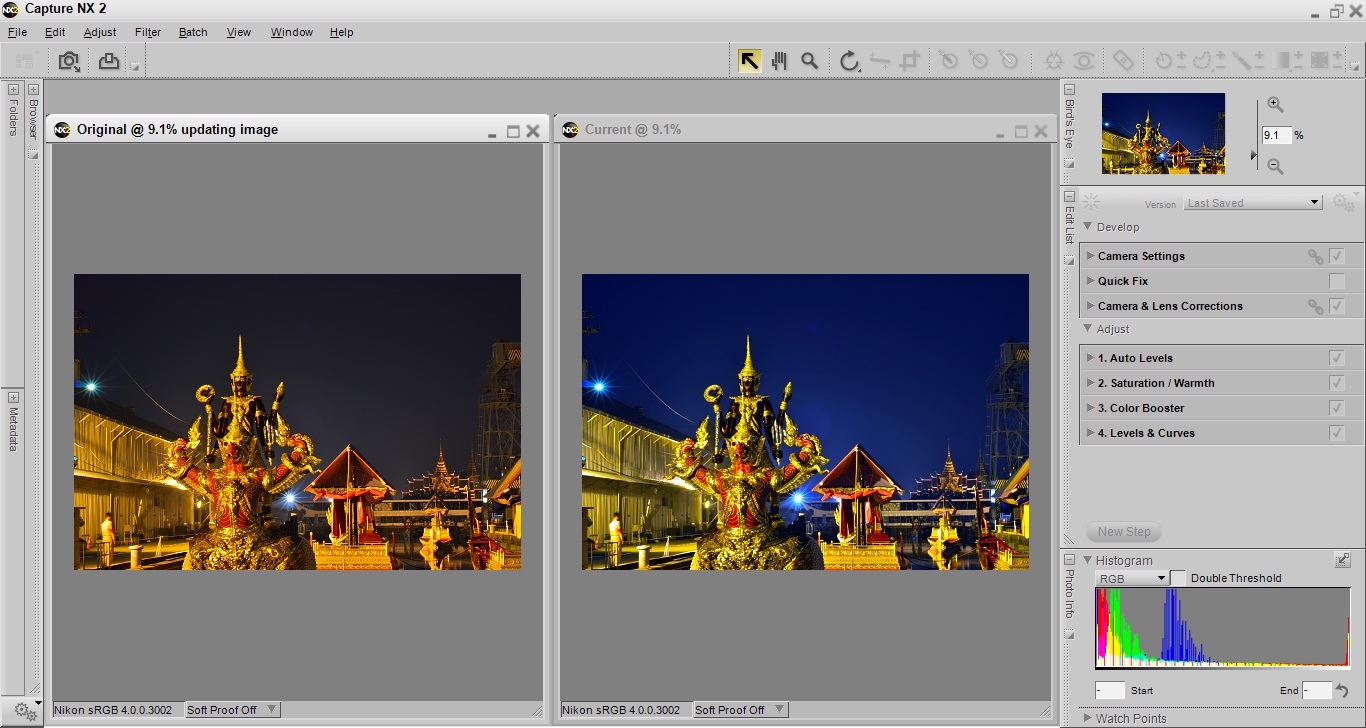 |
| Before & After |
+ เป็นไงครับแตกต่างจากรูปเก่าเยอะเลย
+ การปรับ Curve เนี่ยต้องอาศัยความชำนาญอย่างมาก เพราะถ้าไม่ชำนาญแล้ว ก็จะปรับไป ปรับมา จนบางทีก็หงุดหงิด ตัวเองเหมือนกันนะครับ ว่าทำไมมันไม่ได้อย่างที่เราต้องการซะที หลักๆ ผมจะปรับสีแดง เป็นหลักก่อนครับ แล้วดูว่ามันส่งผลกับสีอื่นๆ ในภาพอย่างไรบ้าง แล้วค่อยปรับตามอีกทีครับ (สรุปว่าไม่มีหลักการอะไรเลย ฮ่าๆ ^ ^)
+ ต่อตอนหน้านะๆ ^ ^
+ ต่อตอนหน้านะๆ ^ ^
++++++++++++++++++++++++++++++++++++++
+ Continue with the last section
|
| Curve + RGB + Can you see the difference between 2 latest photos (Color Boost and Curve RGB) Now let's see clearly on each color channel that I adjusted by trial and error. haha |
|
| Curve + Red |
+ First, looking at Red Channel. I pulled the Black Point (the small triangle on the bottom left) to the position number 5 and slided the White Point (the small triangle on the bottom right) back to 249. On the other hand, there is a small triangle in the middle. It is Neutral Point. I didn't adjust anything at this point ^^.
|
| Curve + Green + For Green Channel, I pulled the Black point to 5 and slided the White Point back to 230. |
|
| Curve + Blue |
+ For Blue Channel, slide the White Point to 198.
+ Why I adjust Curve a little and get the desired photo? For real, I slowly adjust it until my desire. I am not smart as you think. For me, I just try by trial and error. haha
+ As I remember, I adjust the Curve and get this kind of color? On each color channel of the Curve that we could see, it's just RGB. That's right? If you want to practice easily, you can try in Color Balance. Because the color is opposite, it could be seen clearly.
R (red) / C (Cyan)
G (Green) / M (Magenta)
B (Blue) / Y (Yellow)
+ What about the result? On my opinion, I think it look similar. I couldn't see the difference T_T". (If you adjust not too far from each other) I realize by myself that the Curve is worked with light. If the light is lighten, brighter or darker could change the color. But Color Balance, it work with only the color. That why you need to look carefully on your photo. Which direction of color your photo has changed? slowly adjust, slowly observe, no need to hurry. I have an example for you. Only one photo (2 photos are compared) The photo on the left hand side used Curve. On the right hand side is used Color Balance. Both of them are adjusted in blue. Also both of them are slided to the end.
|
| Compare + Curve / Color Balance
+ For the Curve on the left side, it look a lot brighter. Because the Curve work with light. For the Color Balance on the right side, it look blue. But it still not brighter than the photo on the left side that looks bright.
|
+ This is how it look after processing. Before & After
|
| Before & After
+ Now you could imagine how it look differ from the previous photo.
+ Adjusting Curve requires a lot of skills. If not, you have to adjust back and forth serveral time. This makes you feel angry and blame of yourself. Why it doesn't change as I want? For me, I mainly adjust the red. And see how it affect the other colors of the photo. |
+

No comments:
Post a Comment